


Ingredients
Directions
Preheat oven to 350°F
Prepare cake batter according to your recipe.
Line 2-3 standard muffin tins with your favorite cupcake liners or grease with shortening and dust with cocoa. This recipe should yield 24-30 cupcakes. (If you only have 2 muffin tins, wait until the first batch is out, and prepare a tin again for the remaining batter.)
Using a spring-loaded ice cream scoop, place dollops of batter into prepared tins. They should be about 2/3 full. Do not over-fill.
Bake approximately 18 minutes. When a toothpick inserted into the center comes out clean, they’re done!
Carefully remove from the oven and allow to cool a couple of minutes in the tin before transferring to a wire rack to cool completely. While the cupcakes are baking and cooling, make the filling and set aside ingredients for the ganache.
In the bowl of your stand mixer, fitted with the whip attachment, stir together the powdered sugar and salt. (You can use a hand mixer with whip attachment, too)
Carefully pour in the boiling water and whip on medium speed until smooth.
Add the extract(s), shortening, and butter.
Increase the mixer to high, and whip until silky smooth and fluffy. It will double in volume. Scrape down the sides occasionally with a rubber spatula. This could take 10-20 minutes, so be patient.
If the filling seems too soft, place bowl in fridge for several minutes to set.
Cover completely until ready to use.
Place the chocolate chips and coconut oil in a microwave-safe bowl. *See note.
Cook the mixture using 30 second increments, giving it a good stir each time.
Continue cooking and stirring until the chocolate is completely melted and the coconut oil is incorporated. This should take only a few minutes total.
Store at room temperature until ready to use. If it starts to thicken, re-warm in the microwave for about 15 seconds, and stir thoroughly.
Prepare the cupcakes:
Take the cooled cupcakes and hollow out a portion in the center. This can be done by using a small sharp paring knife, or a cupcake corer, or a cupcake tool to help remove the center. (Look online for cupcake corer options near you.)
Resist eating the cores as they’re removed and save to put back on top. 🙂
Once all the cupcakes have been cored, place filling into a pastry bag fitted with a large round tip, or snip the corner of a freezer bag, and fill each cupcake with the cream filling. You will need to refill the pastry bag (or freezer bag) a couple of times to finish all the cupcakes. You should have filling leftover that you can use as a frosting for the top of the cupcakes.
Fill the cupcake centers nearly to the top with the filling and then firmly press the core back on top, trying to make it level with the rest of the cupcake.
When all the cupcakes have been filled, check to make sure the ganache has a smooth, slightly runny consistency. Reheat briefly if necessary.
Gently spoon the ganache over each cupcake to the edge. Make this as smooth and neat as possible, although it may drip over the sides.
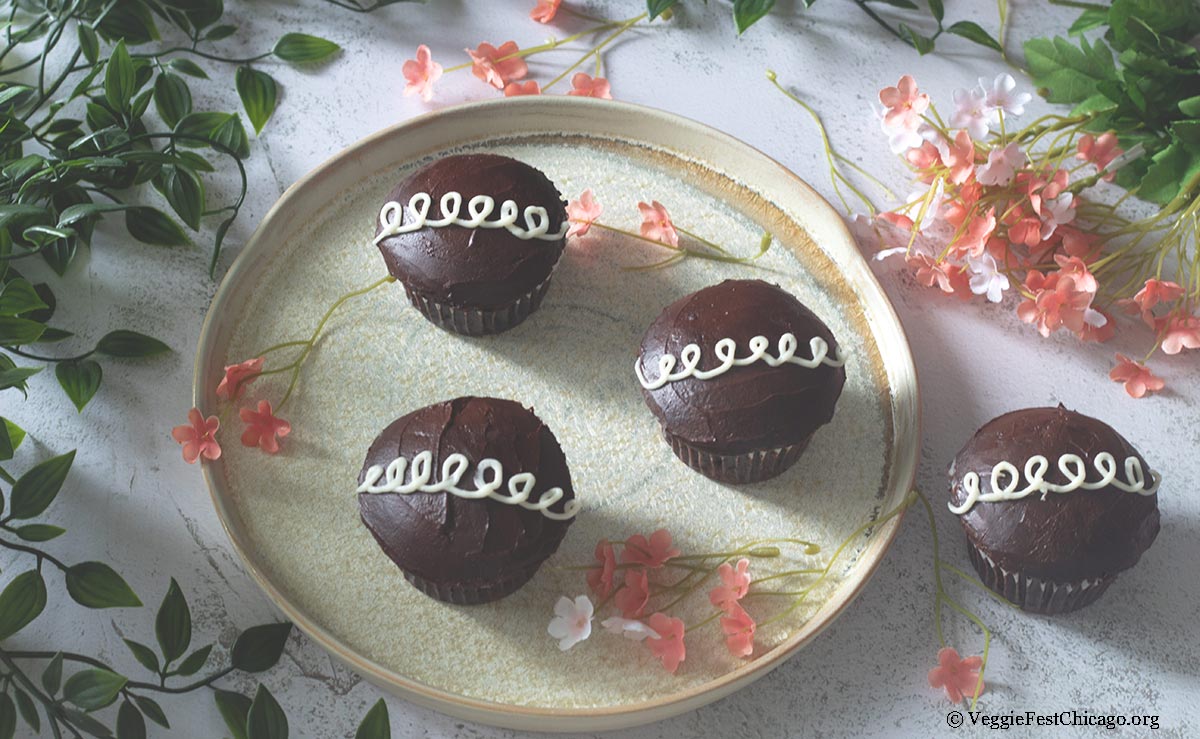
Next, prepare a pastry bag fitted with a #3 round tip, and get creative!
For a spider web, decorate with three circles, one inside the next. Then, using a toothpick, start in the center and drag it through both the chocolate and circles to the outside of the cupcake, rotating around the top until you have a web-like appearance. Other options could be to write words like “boo,” “spooky,” or alternate “trick” and “treat” across the center of the cupcakes. You can also use the classic swirl that is reminiscent of the American snack cake.
Place cupcakes in the refrigerator to set, or if the weather is cool in your area, place by an open window. The ganache and filling will both become firm.
When serving, place at room temperature for about 10 minutes before gobbling them up!
Note:
*If you don’t have a microwave, use a “bain-marie” (or double boiler) method and place the ingredients in a glass bowl that fits tightly over a pot of near-boiling water and cook on the stove, stirring constantly until chocolate has melted. Take care not to get any water or moisture into the bowl, as it can cause the chocolate to seize, and you’ll need to start again!
This recipe works great for a combination of mini and regular-sized (or all mini) cupcakes, too. Bake only one size at a time, however. Start checking around 10 minutes to see if the minis are done.
If filling mini cupcakes, fit the pastry bag with a round tip or injector tip and insert it directly into the cupcake. Give a little squeeze to the bag, and voila! Enjoy your mini cream-filled cupcake.